Over the last year, I had the opportunity to complete several Motion Design online courses. Throughout these courses, I tested my skills and learned new ones. I was able to increase my workflow and gain a newfound confidence in the ability of work that I was able to produce.
The courses encapsulate how motion design uses graphic design and animation to create dynamic and engaging visual effects. Some of the fundamentals of motion design that were outlined in these courses were:
Keyframe animation: This is the process of creating animation by placing keyframes at specific points in time and then letting the software interpolate the motion between those keyframes.
Timing and spacing: This refers to the pace of the animation and the distance between keyframes. Good timing and spacing can make the animation appear more fluid and natural.
Easing: Easing is the gradual acceleration or deceleration of an animation. It helps to create a sense of weight and realism in the motion. And is probably the most crucial element to get right when working with motion design.
Layering and compositing: This refers to the process of combining multiple elements (such as text, images, and video) into a single animation.
typography animation: The art of animating text. It is an important aspect of motion design as text is often used to convey important information.
Colour theory: This refers to the use of colour to create mood and emotion in animation.
Sound design: The use of sound to enhance the animation and create a more immersive experience.
Storytelling: Using animation to tell a story or convey a message. A good motion design should be able to communicate effectively and emotionally.
The first course was called ‘Animation Bootcamp’ and it was an online course from ‘School of Motion’. This course started from the very beginning, with the fundamentals. As much as I thought I already knew all of this, it was great to go back over it again and get a new perspective on things.
They used each week to cover one of the core elements of animations, from easing to animating along a path. One of the best parts about this was a lesson I did not think I would enjoy. It was all about animating easings, but not using after effects, which would be my preferred tool to animate, it was using frame-by-frame animation. The reason I enjoyed this so much, was because it gave me a real insight into why things work the way they do, and really made me appreciate things within after effects.
New Techniques
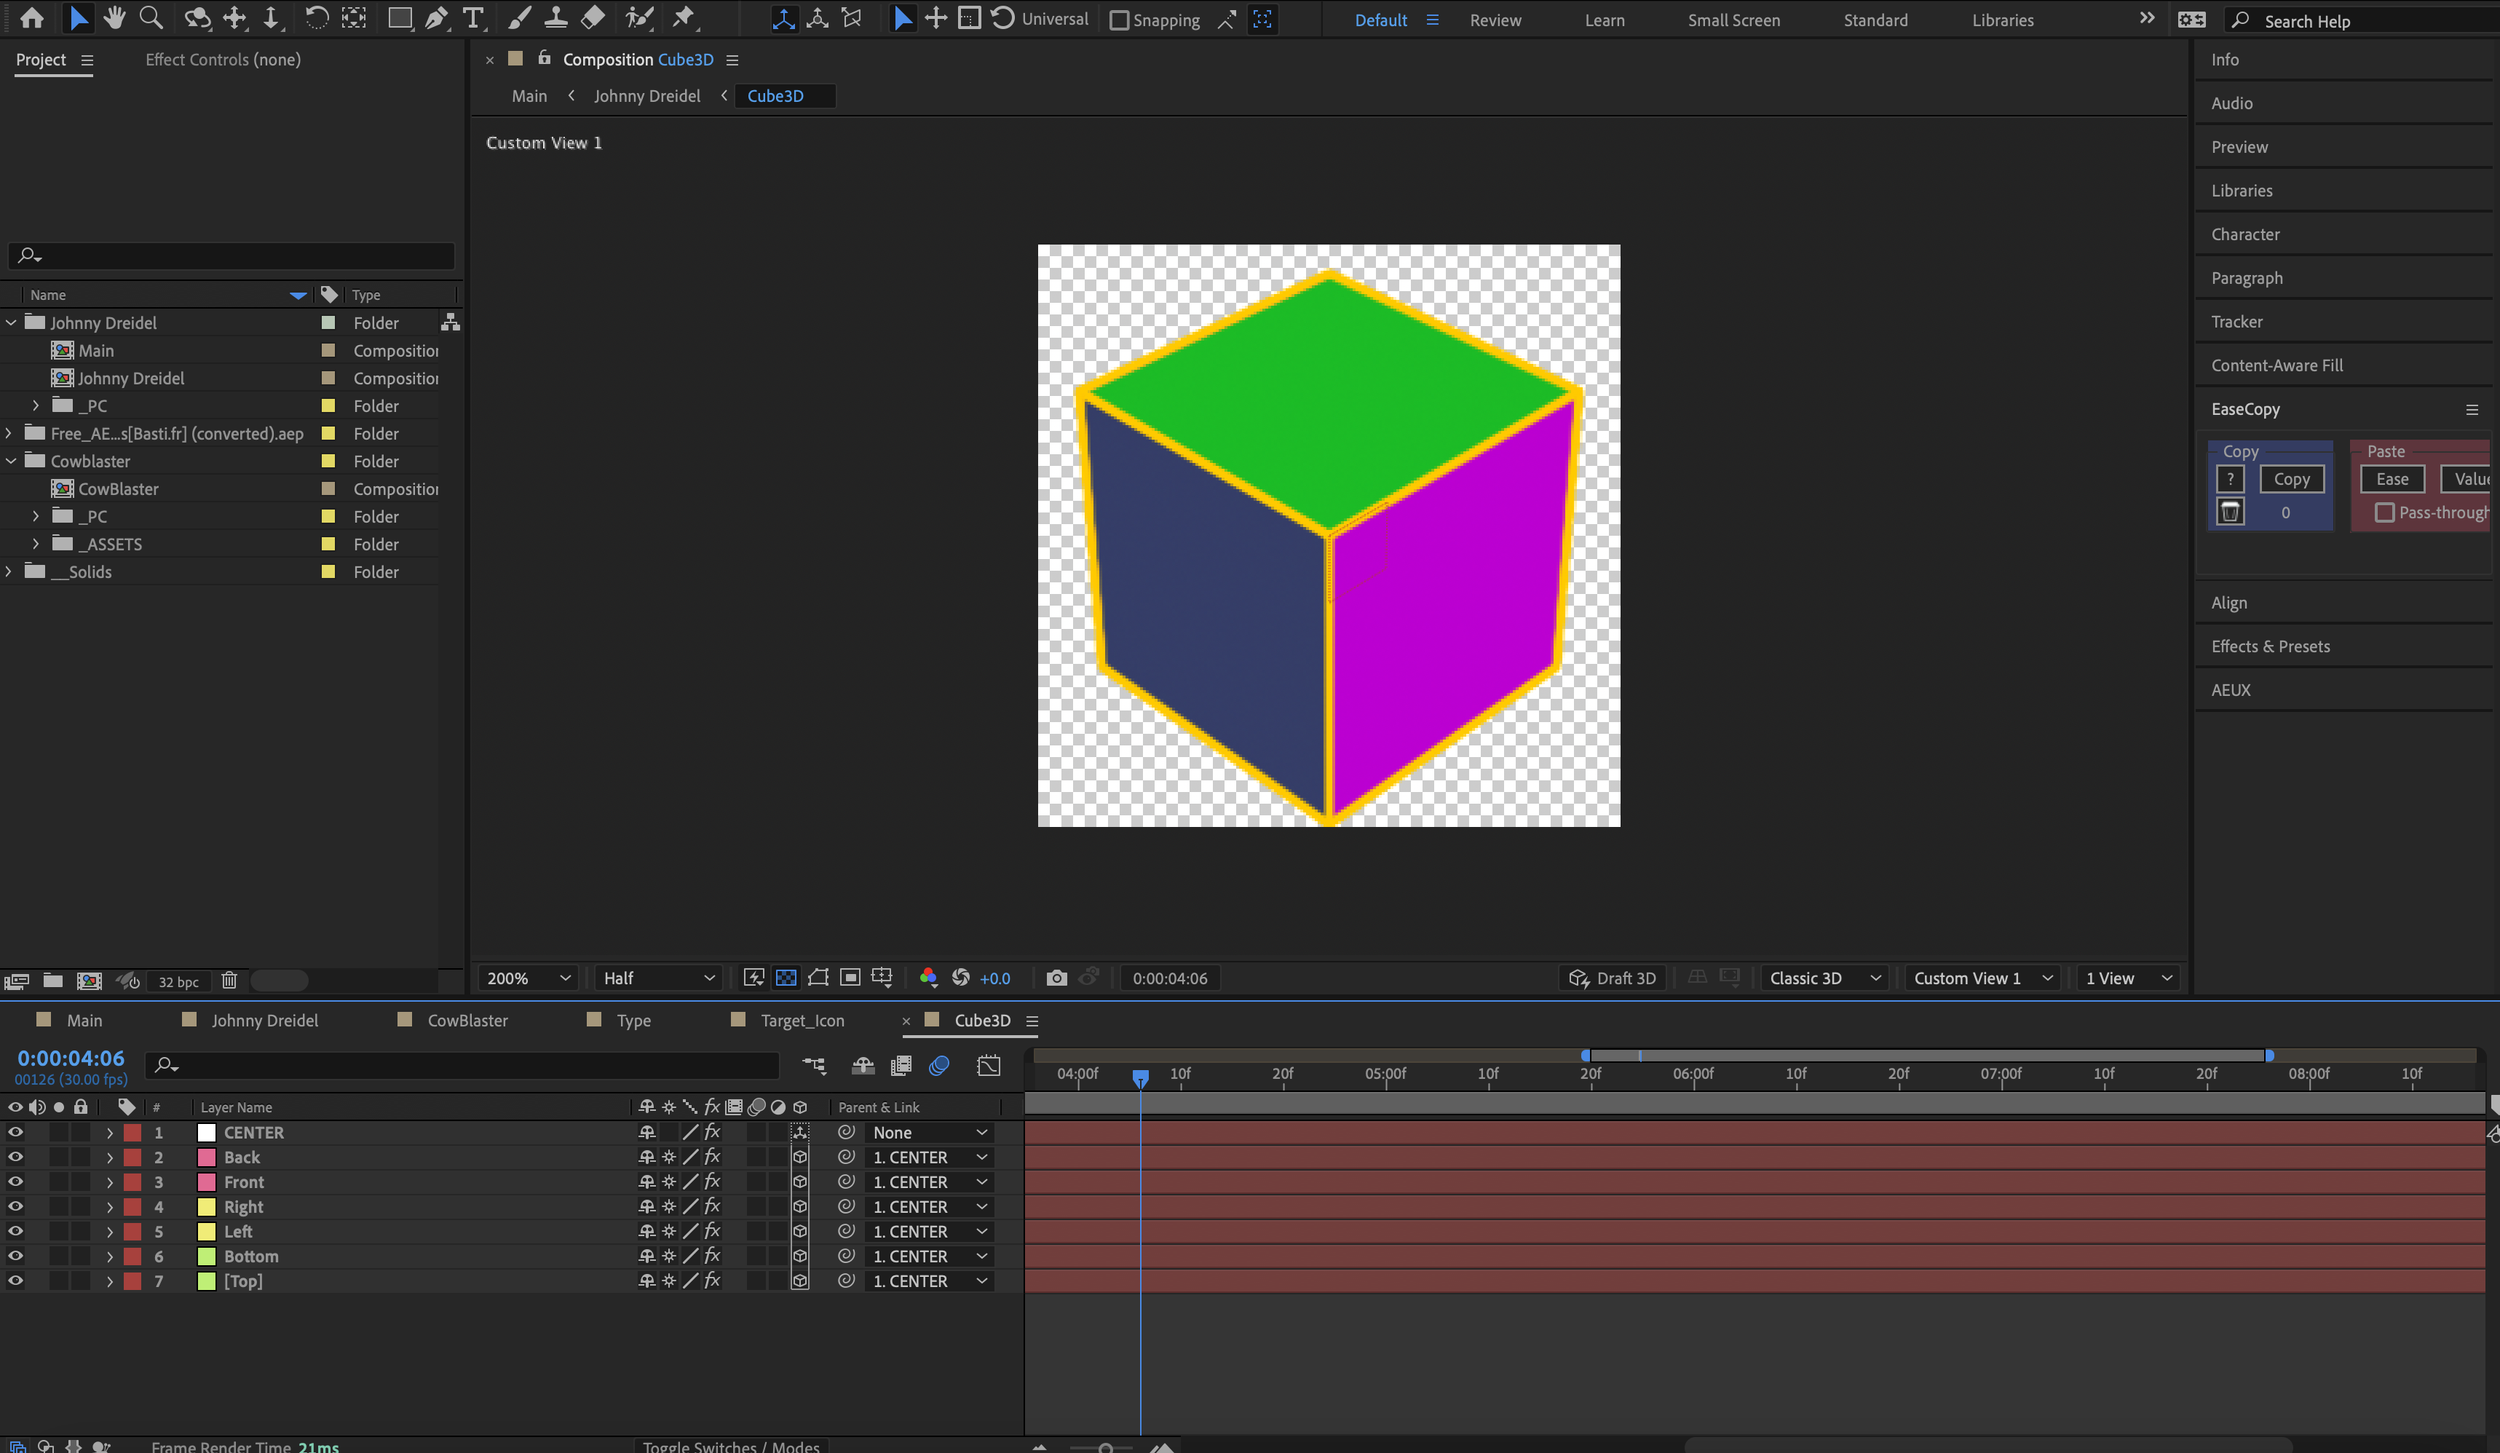
I have always been a 2D animator, and after this course, I would still say I am, however, this lesson, in particular, gave me a real test. It was to do with creating faux 3D objects in after effects.
I wanted to point this one out in particular, because it came in handy down the line in the next course that I did too. Having the ability to create faux 3D has allowed me to create things that I previously would not have thought possible. I think in the future I will definitely have to try and get more into 3D. I would also love to try and get into character animation a bit more too
Morphing
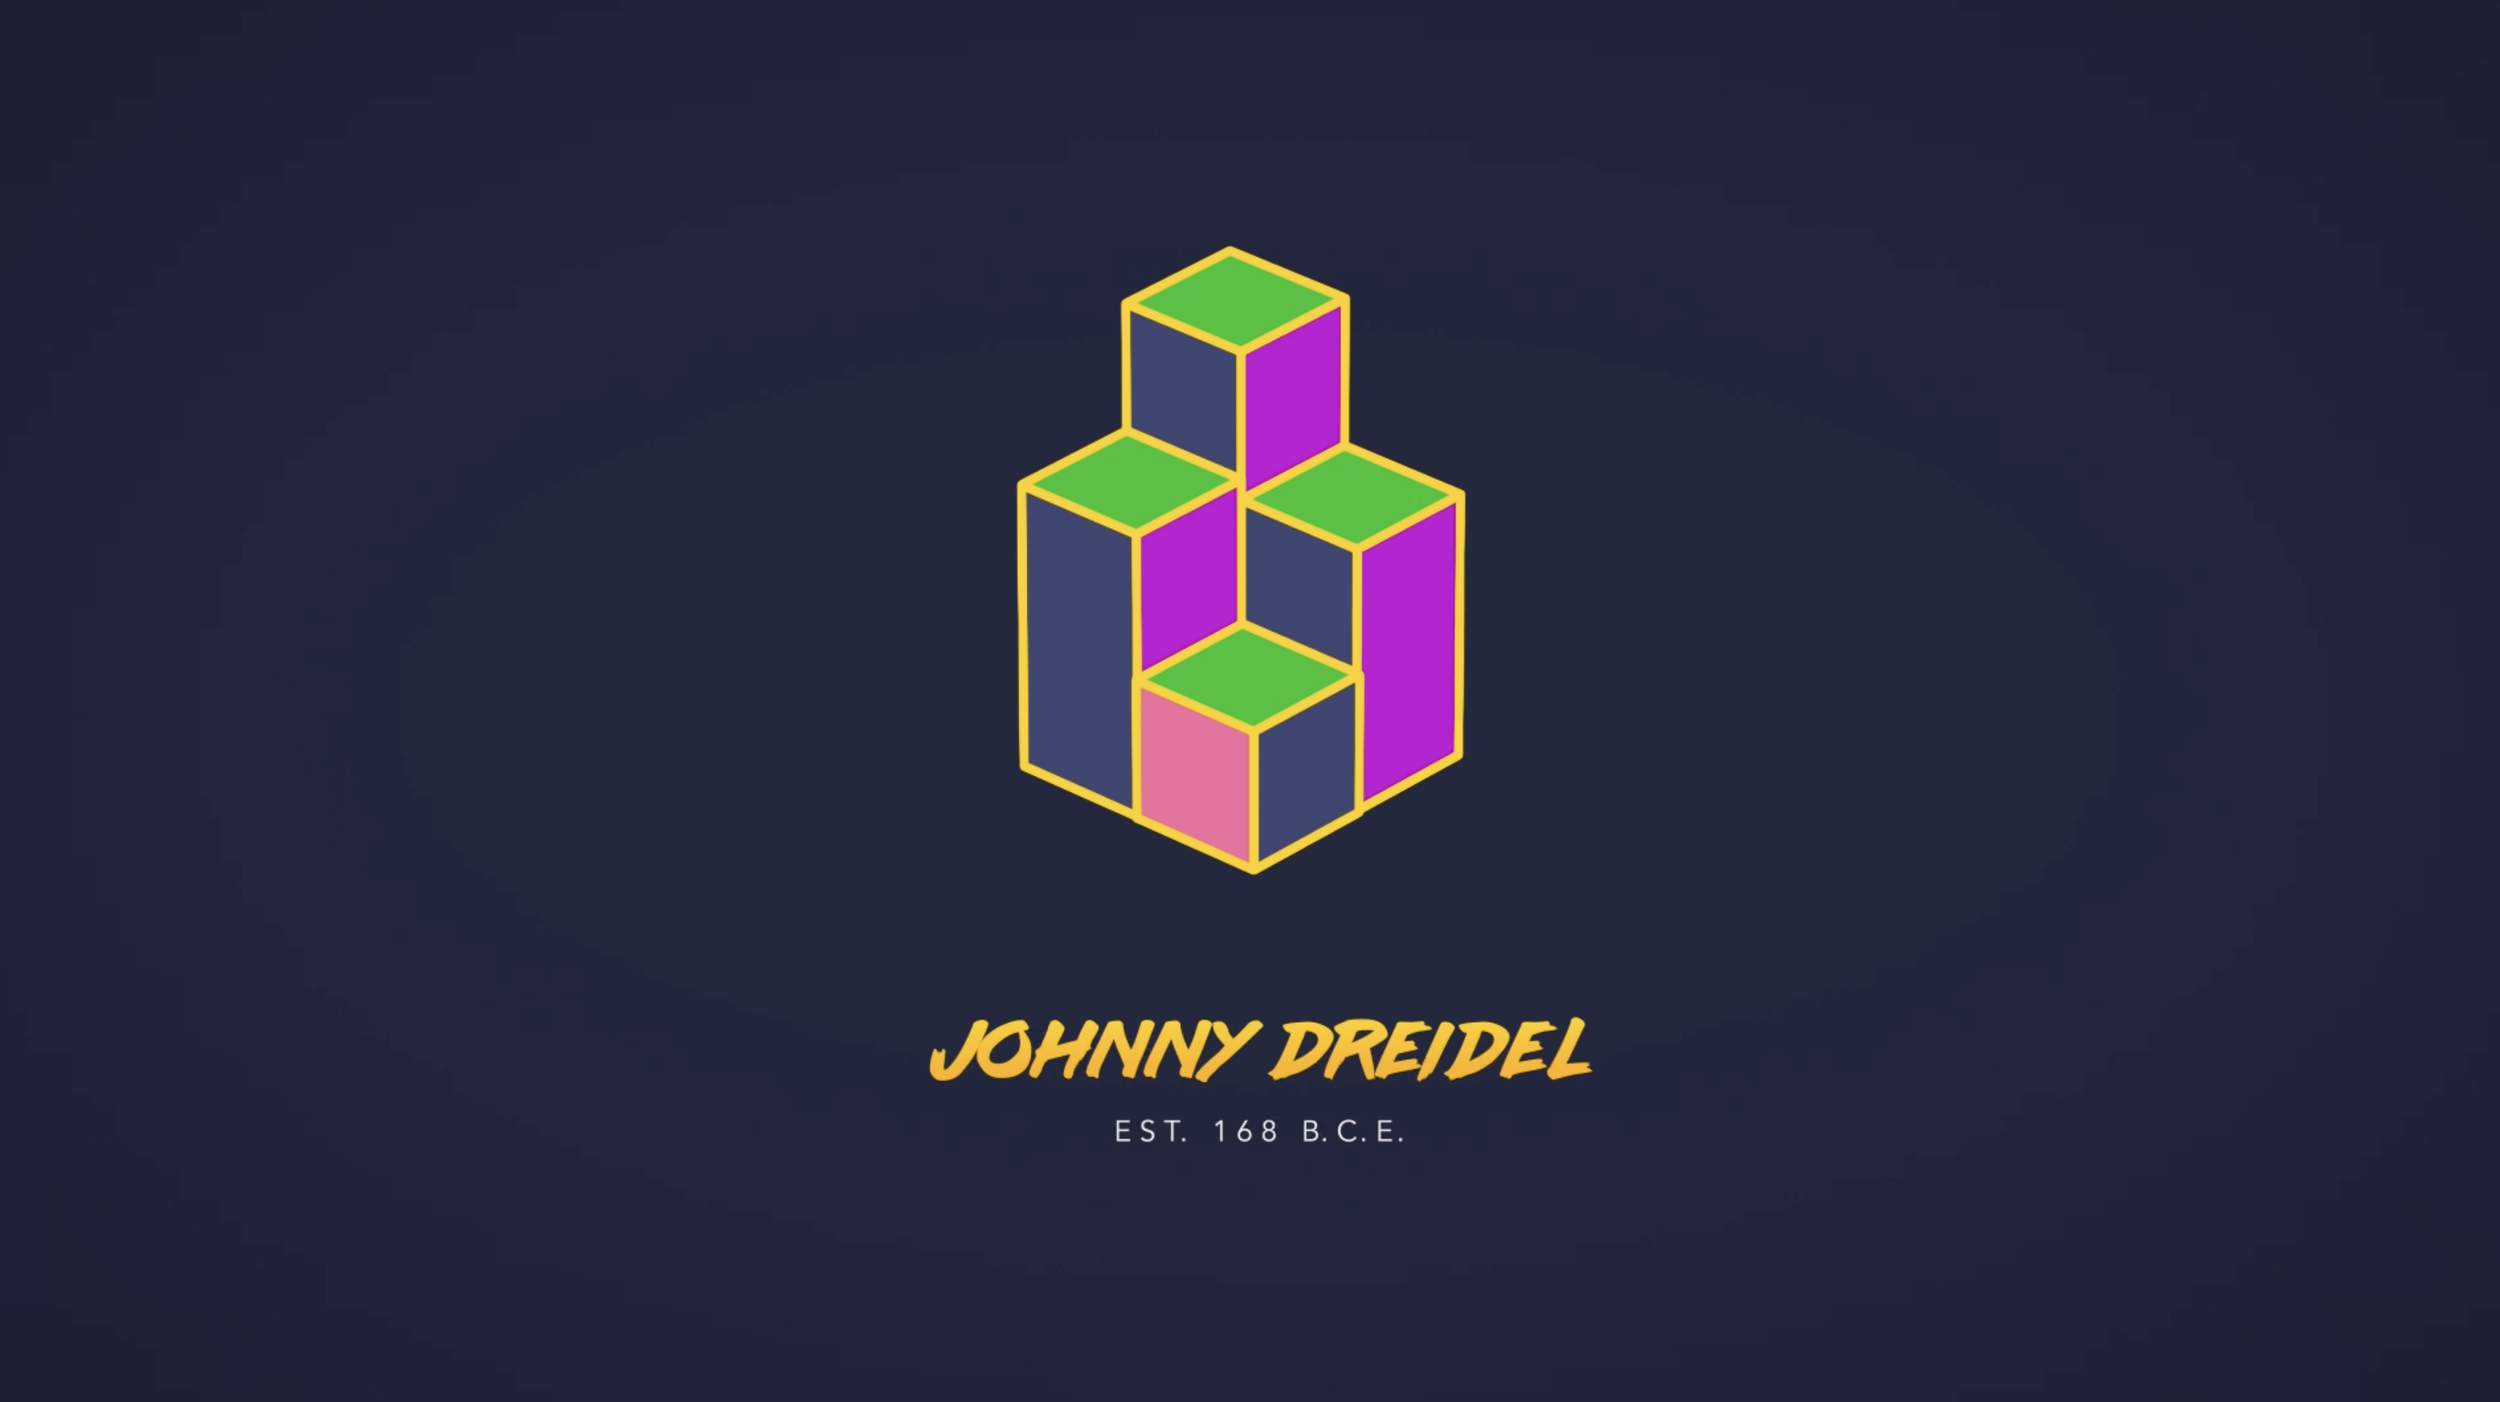
The second course I did was ‘Master Motion Design, with ben Mariott’. I am always trying to learn more about animation, so this course was a great way to expand on my knowledge. One of the best lessons within the course was about morphing shapes, which is something that I used a lot within any form of motion graphics.
This lesson broke everything down in a very simple way and make it clear that planning went in before you even opened after effects. The same can be said for every lesson, but for sure in this one.
Having a base position for every shape at specific times within the animation is key to not only getting the morphing to look believable but timing as well. I wanted this to play on a loop, so having it start and end on the same frame was crucial.
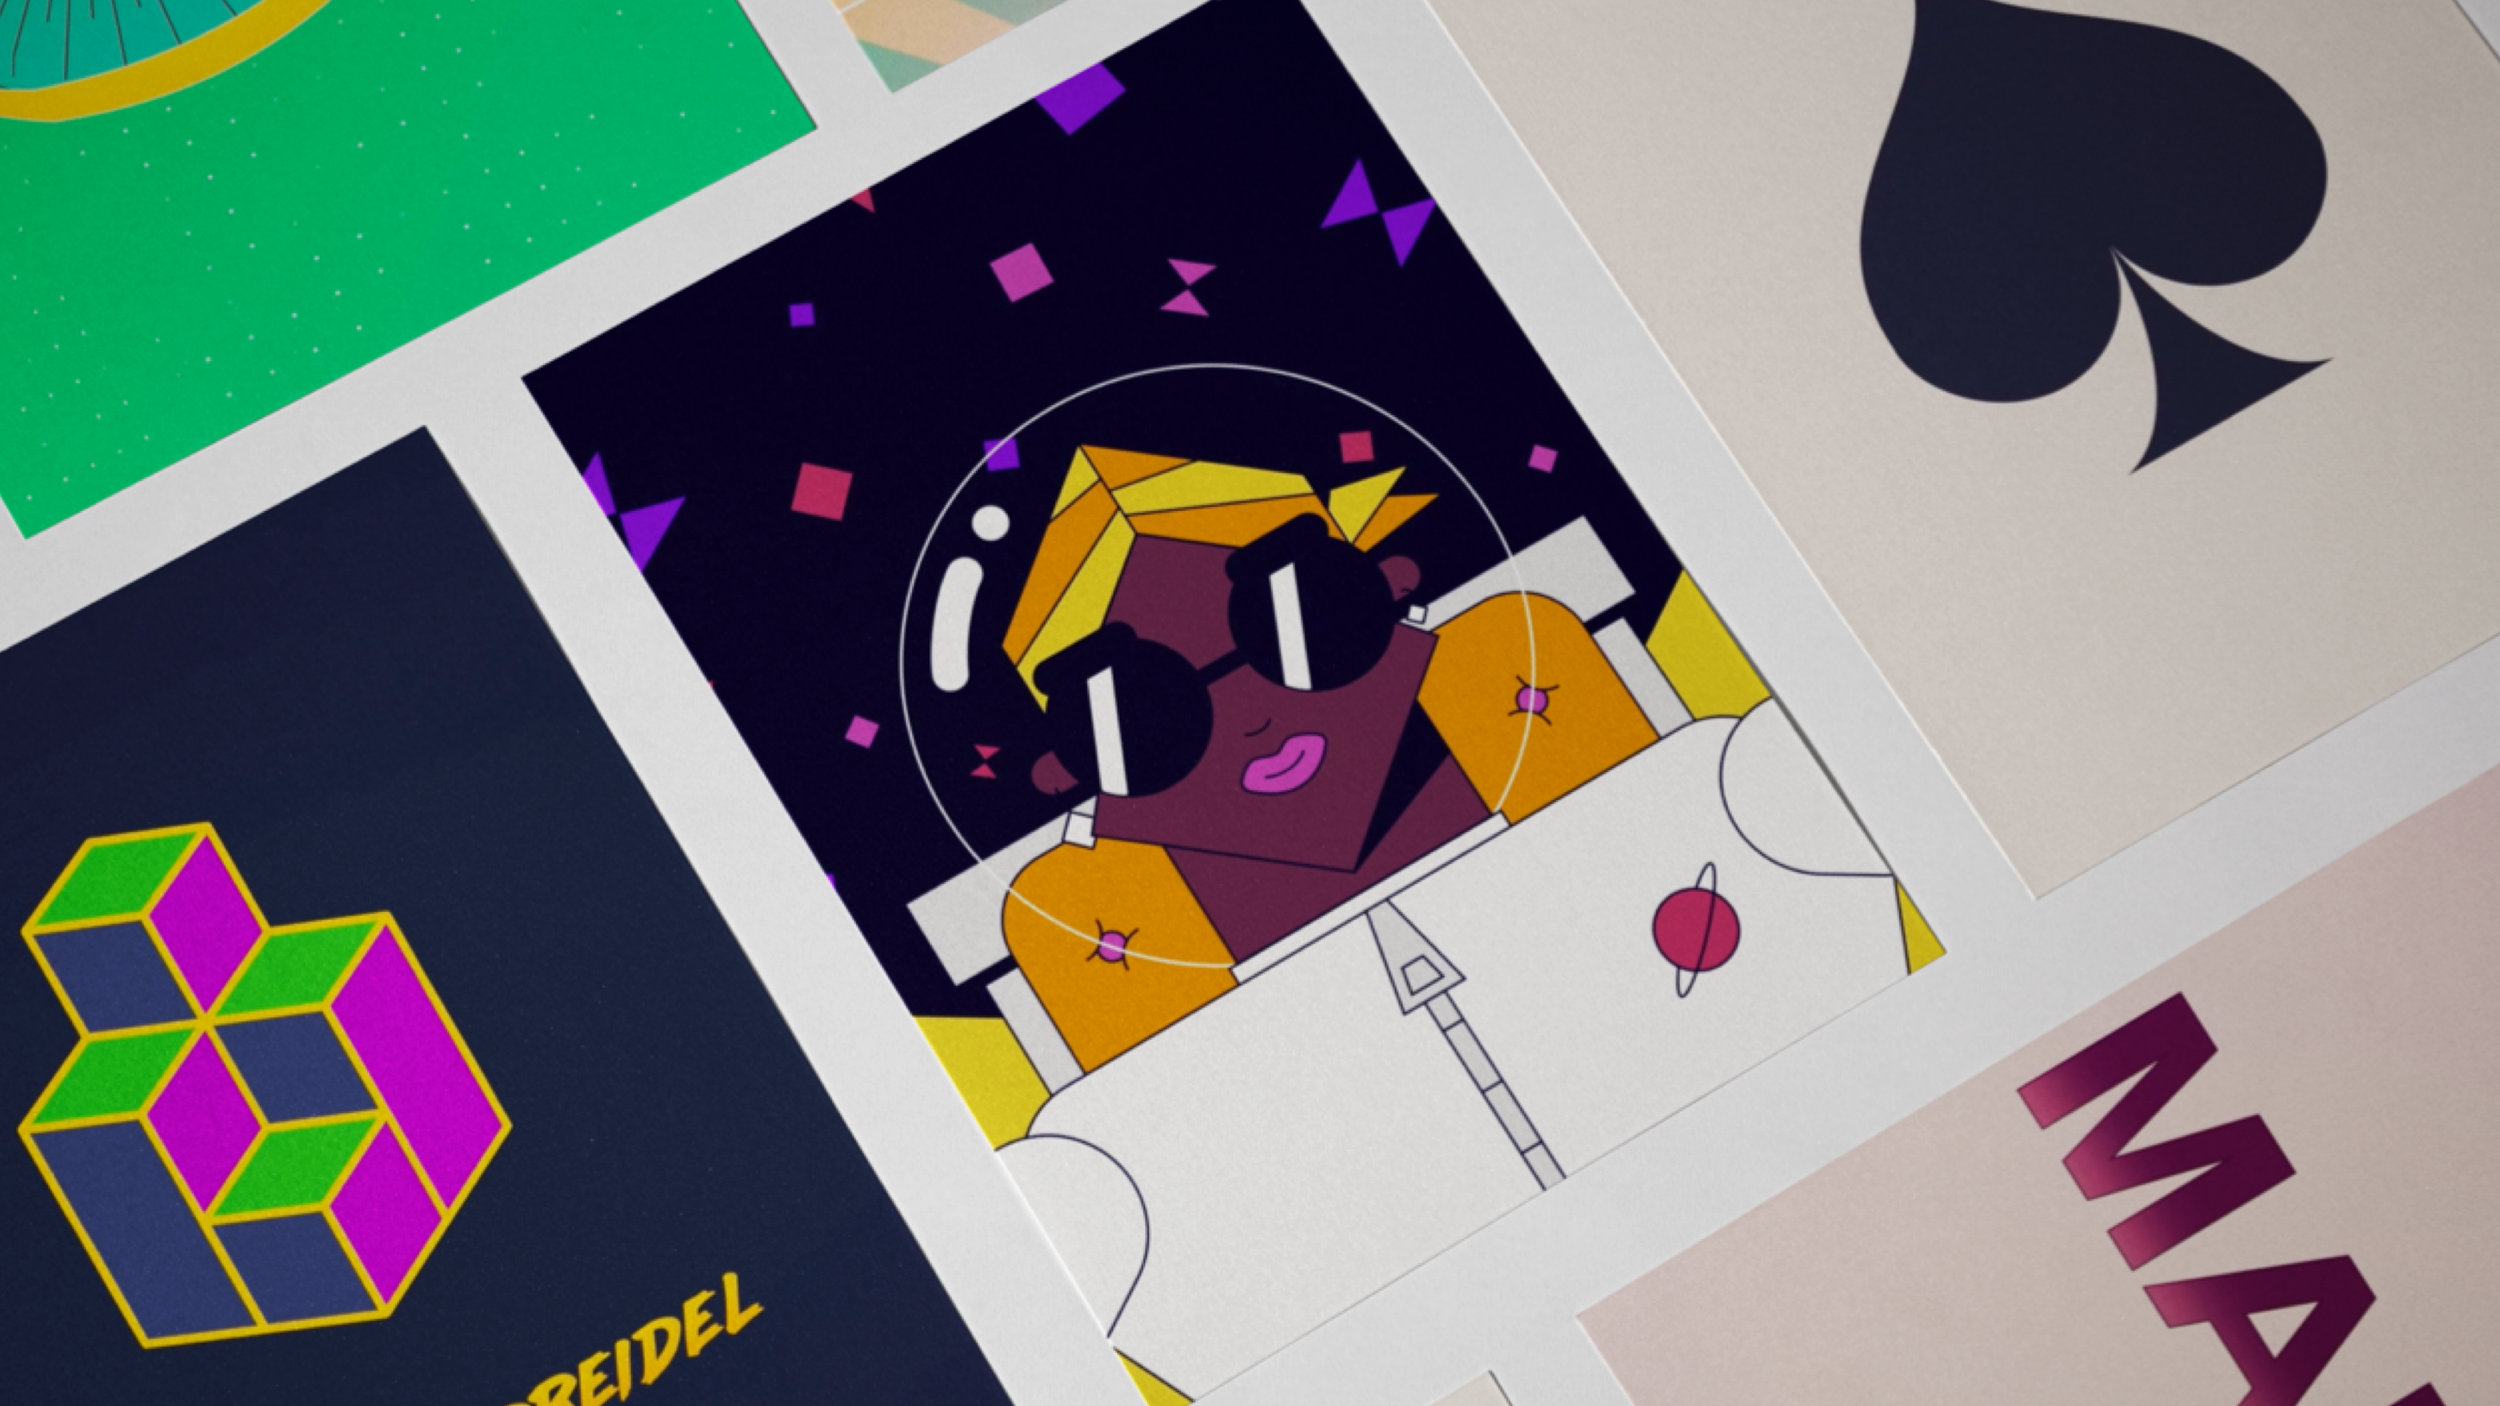
The next thing to do was find design elements that could move with the shapes to make the morphing, in the first instance, you can see the spade looks very similar to an upside-down heart. I looked for elements like this between each shape and ended up making a smooth transition between them all.
Showreel Showcase
The video below showcases all of the mini-projects I created while following along with these two courses.